Application Deployment
Now that we’ve established some "ground rules" on "fair behavior" in the platform we can start leveraging OpenShift as a platform for applications. This module will cover everything needed to take source code, build it, package it, and deploy it on OpenShift.
|
The source code referenced in this page is available in the top-right "Links" section. |
Container Basics
Images are where our application journey begins. Without them, and the standards built around them, Kubernetes and OpenShift would be much different technologies if they even existed at all. In simplest terms, an image is a repeatable recipe for software wrapped into a well defined binary format. The format is has proven to be particularly flexible. Today there are images for several architectures (arm,x86,mips,power8,mainframe,…), several operating system families (Windows and Linux), and several operating systems (rhel,ubuntu,suse,…).
FROM python:3.12
WORKDIR /usr/local/app

# Install the application dependencies
COPY requirements.txt ./
RUN pip install --no-cache-dir -r requirements.txt

# Copy in the source code
COPY src ./src
EXPOSE 5000

# Setup an app user so the container doesn't run as the root user
RUN useradd app
USER app

CMD ["uvicorn", "app.main:app", "--host", "0.0.0.0", "--port", "8080"]
Each (non-empty) line begins with a token in all caps that signifies a specific instruction when building:
-
FROM: Are we starting fromSCRATCHor are we building FROM another image? -
WORKDIR: In our new image, which WORKing DIRectory will be the context for further actions? -
COPY: What files do we need to COPY into our new images new working directory? -
RUN: What do we need to RUN in our image to achieve the correct configuration? -
EXPOSE: What ports are being EXPOSEd by our process? -
USER: What USER are we running the process as? -
CMD: What CoMmanD are we running when this image is instantiated?
With the exception of FROM (beginning of file) and CMD|ENTRYPOINT (end of file), the specification allows near complete freedom on the order and amount of instructions. There are best practices however. Apart from successfully executing an app, readability of the container file, the size of your container file, and the size of the resulting image should be highly prioritized.
|
Starting off |
For the most part the use cases for these instructions are self-evident, but there are several that overlap and often cause confusion.
| Instructions | Explanation |
|---|---|
CMD vs RUN |
Both run commands, but at runtime and on build respectively |
CMD vs ENTRYPOINT |
Both the runtime process, but CMD is overridable while ENTRYPOINT is not |
ADD vs COPY |
Both add files, but ADD should only be used for remote/packaged files |
ARG vs ENV |
Both control parameters, but at runtime and on build respectively |
And with all that behind us, we can start building images and creating containers.
Grab your client of choice podman or docker (links below) and try the following commands:
Podman Image Commands
# From the source repository root
podman build --file src/cart/Dockerfile --tag cart:0.0.1 --label build-0.0.1# From anywhere
podman images --filter label=build-0.0.1# From anywhere
podman inspect localhost/cart:0.0.1# From anywhere
podman run --name cart-0.0.1 -d -p 8080:8080 localhost/cart:0.0.1# From anywhere
curl -I localhost:8080/carts/1# From anywhere
podman kill cart-0.0.1
podman rmi localhost/cart:0.0.1Builds
Being able to build locally is a powerful asset, but what if you do not have the correct architecture or a powerful enough machine to handle builds on your own? There are several options provided either out of the box or as an addon.
Native Builds
OpenShift can build natively with the same Dockerfile strategy.
Assuming that the architecture of your own build environment is the same as your OpenShift nodes, we can effectively build the same artifact the same way as we did previously.
oc create build cart --strategy Docker --source-git=https://github.com/shpwrck/retail-store-sample-app --context-dir=./src/cart --dockerfile-path=. --to-image-stream cart:0.0.1If you run the same command again, it will fail (by design). We need a generative way to produce builds repeatedly. That is where BuildConfigs come in.
OC Image Commands
oc new-build https://github.com/shpwrck/retail-store-sample-app --strategy docker --context-dir=./src/cart --to cart:0.0.1oc start-build retail-store-sample-appoc get builds
oc get is cart -o yaml|
We manually created the builds with the |
Builds with Shipwright
Builds and BuildConfigs have been around for a long time, and as such have less functionality than more modern approaches. Since their creation, projects such as BuildKit,Buildpacks, Buildah, and Kaniko have added interesting and useful new spins to the domain of cluster based builds. And while it’s out of scope for this workshop, OpenShift can host a tool that takes the benefits of each technology and wraps them into a singular build platform. That tool is Shipwright or Builds for Red Hat OpenShift, and it is quickly becoming the common standard.
Workload Basics
The next step after accomplishing reliable/repeatable builds is deployment. We can generate the necessary images and we have a full understanding of how they operate. Transitioning to OpenShift from our local environment is a simple undertaking. Sometimes as easy as oc new-app!
oc new-app https://github.com/shpwrck/retail-store-sample-app --name test-cart --context-dir ./src/cartor
# This command borrows the image from our previous builds
oc create deployment test-cart-deployment --image image-registry.openshift-image-registry.svc:5000/default/test-cart:latest
These two commands do greatly oversimplify the capabilities that OpenShift has in regards to running workloads.
-
The many types of workloads
Deployments,StatefulSets,Daemonsets,Jobs,CronJobs -
The
1,000+keys and values that each resource has -
The
100+Red Hat operator-based solutions that augment workload behaviors
It’s important to approach this domain incrementally. So for now we will leave workloads behind and focus on one final application tool.
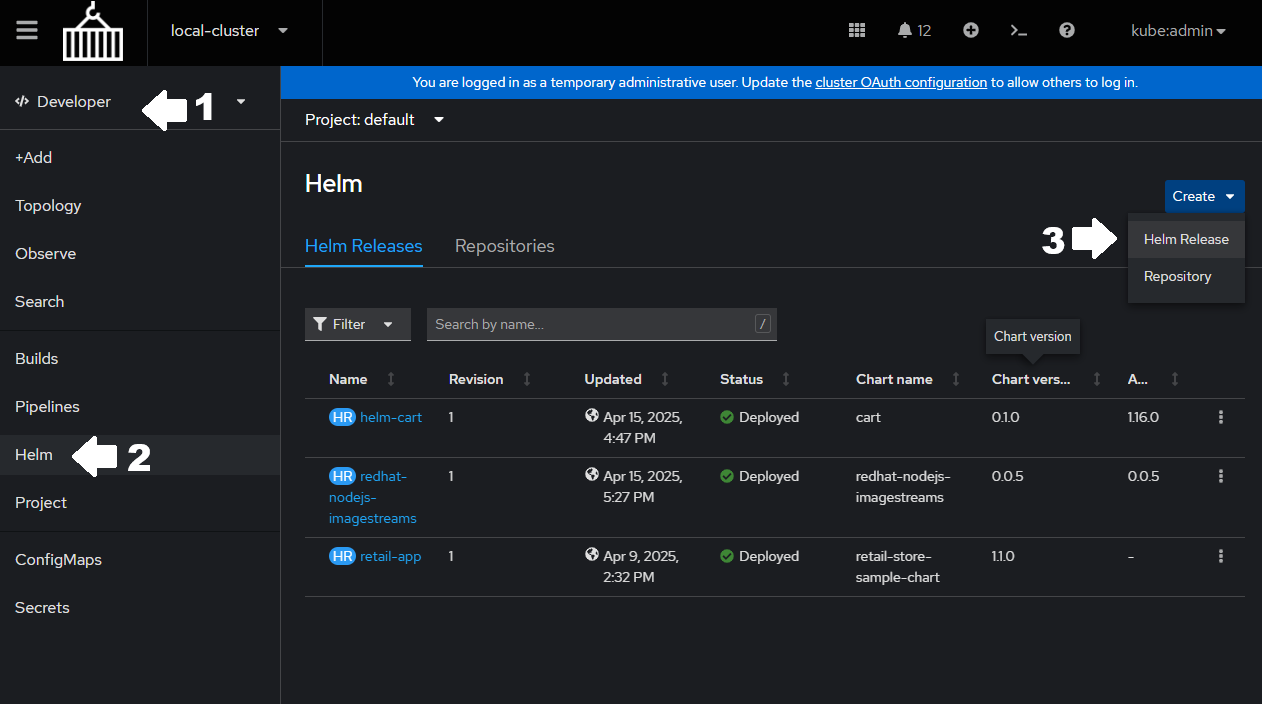
Helm
Helm is the last remaining tool in our Application’s MVP. Helm allows us to take what we’ve done up to this point. (Images, Builds, Deployments,…) and package it up just like we packaged our application itself. This affords us the same benefits that containerization did: reliable and repeatable results.
The process for taking what we have and packaging it with helm is more involved than our previous commands. But it can still be done in less than a few lines of execution.
Basic Helm Steps
# Create the file structure for helm
helm create cartcd cart
rm -r templates/*# Add "-o yaml" to our previous "new-app" command and dump it to a file
oc new-app https://github.com/shpwrck/retail-store-sample-app --name test-cart --context-dir ./src/cart -o yaml > templates/resources.yaml# From cart/
helm install helm-cart .oc start-build test-cartAnd voila! You can take that example and run it in any OpenShift Cluster! There are plenty more things to say about helm though.
-
Split the resources out of the
Listtype, and into individual resources -
Add some parameters to allow for dynamic naming, scaling, or other resources
-
Provide RBAC, Resource Limits, and Resource Requests
-
Provide some additional documentation as to how the application should operate.
-
Recreate meaningful tests
This list could honestly go on for several dozen more bullet points, but this is just an MVP (not PRODUCTION). After we’ve completed both "Day 1" and "Day 2", I highly recommend returning to helm, workloads, and builds to explore what was originally out of scope.
Knowledge Check
Digging around the source code repository, you may see Dockerfiles with multiple FROM instructions, what does this imply?
Answer
Multi-stage Builds!
Just as you can chain together FROM instructions from file to file, you can chain them inside a single file. This improves readability, consolidates the process of a full build, and helps keep image sizes small.
If you COPY a directory, but you’d like to skip specific files, what recourse do you have?
Answer
Similar to a "gitignore", podman and docker both support a "dockerignore"
By specifying directories,files, and file-globs in this way, you can keep sensitive files out of images and reduce the overall size of the image.
What images are included in the UBI catalog?
Answer
Each RHEL Operating System (7,8,9) have "ubi","ubi-init","ubi-micro", and "ubi-minimal".
Helm is supported both from the CLI and the Web Console, can you create a helm chart from the Console?
Answer